This section describes the different steps followed to produce a simple multi-color sticker at the Fab Lab.
Step – 1 : Design Part Using Adobe Illustrator
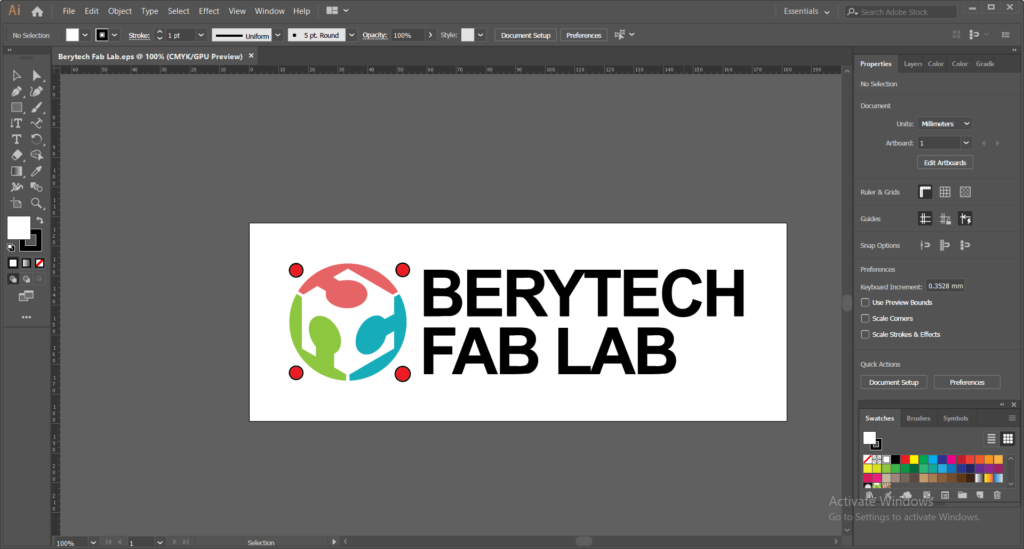
In this example the logo was designed on Adobe Illustrator. Due to fact that we wanted to produce it in various parts and multiple colors, the design had to be edited to be able to guide ourselves while sticking the different colors onto the surface.
Accordingly, guides (4 circles) were added to the design, which will be cut on all different colored vinyl. When installing, make sure that all guides are on top of each other, and as a result, you guarantee the squareness of the sticker. Also make sure that all lines you want to cut are single continuous lines. Join lines when needed using the Join function.
Once the design is ready and the final shape of the desired sticker, the next step is to save the object, so that we can open it on any preparation software before we push the job to the Laser Cutter.
Step – 2: Prepare Your File For Vinyl Cutting

You will then import the file into a preparation software, in our case we use CorelDraw. The sheet width should correspond to the vinyl roll width.
- Choose Your Material: Typically you may have an idea about what kind of vinyl you will use and its color. In this example we will be using Vinyl of various colors: Black, Blue, Green, and Red.
- Divide your Design: Divide you design into separate vector files, that you will cut on different colors, as the vinyl cutter can only cut one color at a time. Make sure to keep the circle guides in all separate vector files to be cute on all colors.
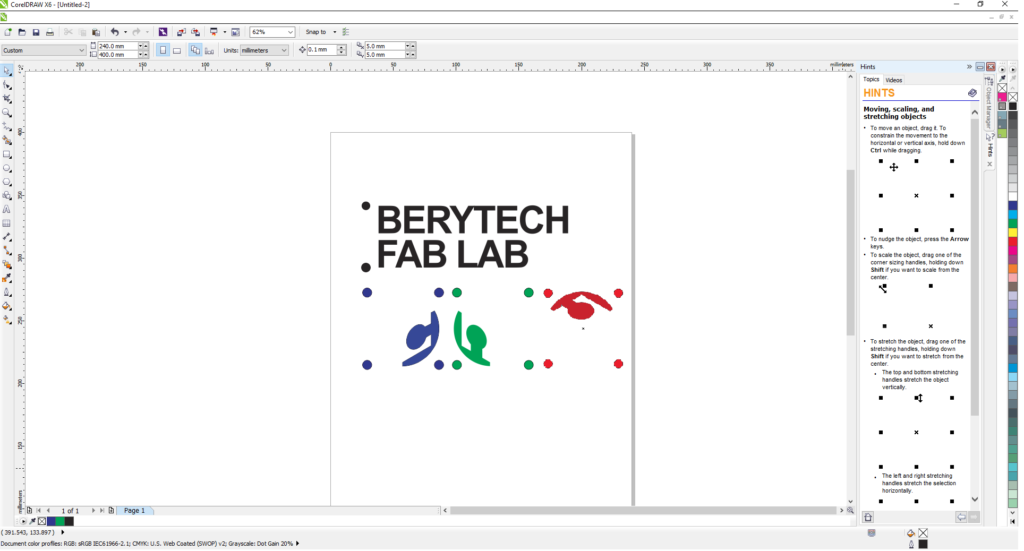
- Choose Your Cutting Vectors: To cut any vector, it must have a “Hairline” thickness to be read by the vinyl cutter as a vector that requires cutting. Thus we had to mark all the vectors that we wanted to cut and set the thickness to be “Hairline”.
- Forward the Job: After choosing all the variables, send the order to the vinyl cutter. But before doing that, we have to manually install the material we are planning to use.
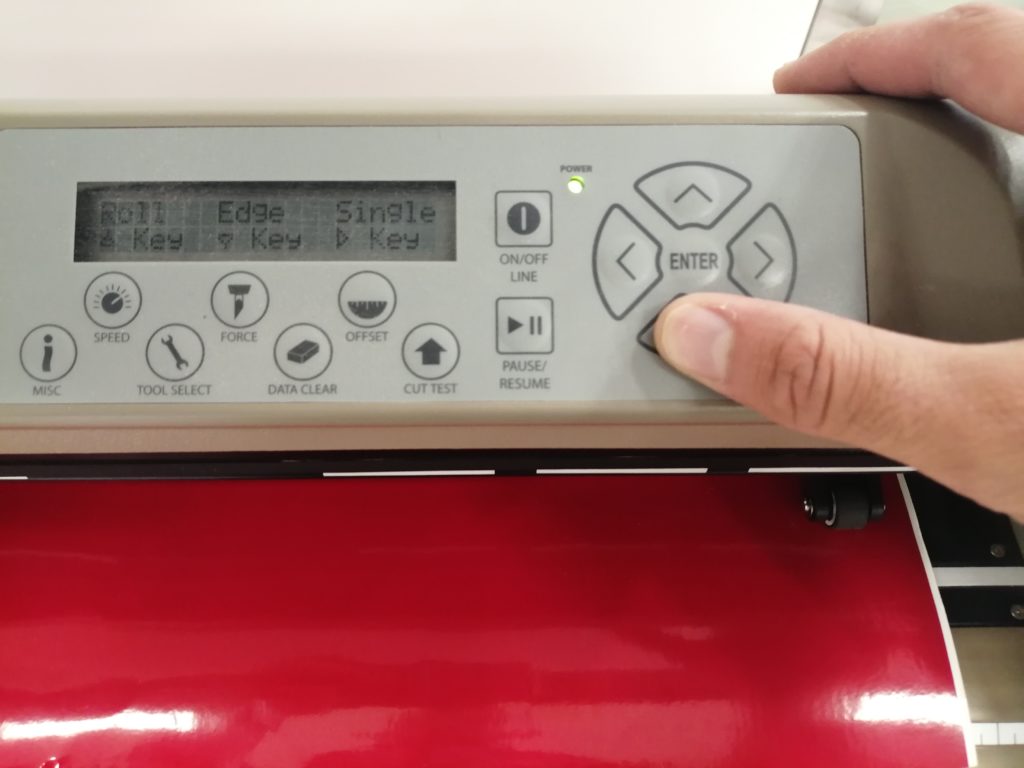
Step – 3: Setting Up The Vinyl Cutter
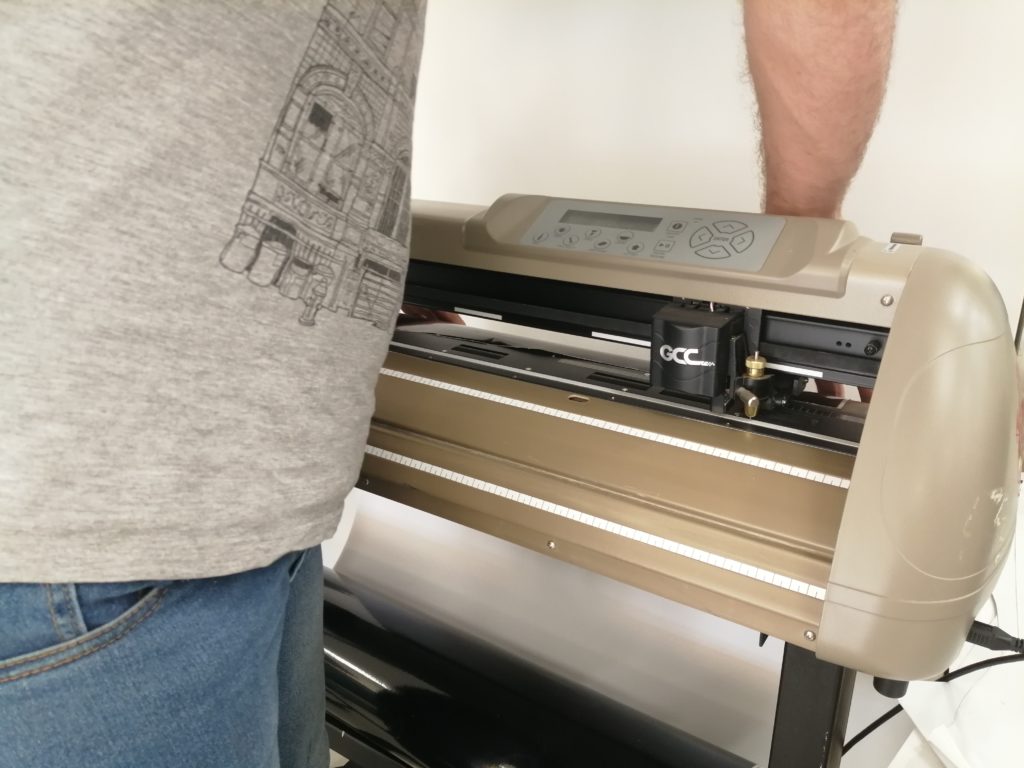
After preparing the file and the relative settings we need, turn on the machine, wait for it to initialize, and do the following steps:
- Pull the pinch roller lever and insert the material.
- Align the material with the rollers, then push the lever.
- Press the “Edge” option on the machine, it will measure the width of the media.
Step-4: Perform The Cut
This is when the magic happens!
- On the PC forward the job.
- The machine will pull the material out to measure if there is enough material (it will pull as much as the length you put in the preparation software).
- Enjoy watching the machine cutting vinyl.
Step-5: Prepare Your Sticker Cut Part from the Vinyl Cutter
To prepare the sticker, follow those steps.
- When the print is done cut the printed part with a cutter.
- Remove all unwanted parts of the Vinyl.
- Stick a transparent adhesive film on the remaining vinyl shapes
Step-6: Transfer your sticker to the intended surface
To stick your sticker onto the intended surface, follow those steps:
- Clean the surface of choice to remove any dust and impurities
- Remove the back layer
- Stick the different colors one by one
- Press the vinyl onto the surface and make sure to remove all bubble stuck under it
- Slowly and carefully remove the adhesive film.