This section describes the different steps followed to produce a 3D printed planter of your own.
Step 1 : Designing the part using Fusion 360
The part is first designed on Fusion 360, a CAD (Computer Aided Design) software. You can use any software of your choice.
In this project we simply drew 4 circles that intersect and then we extruded the circles with an angle. The Produced shape was then hollowed to required wall thickness. 4 holes were then added in the bottom for water drainage.
Step 2: Extract 3D Model in .STL format
Once the design is ready and the final shape of the object is reached, the next step is to save the object in .stl format, so that we can open it on any slicer software to prepare for the 3d printing job.
The STL file is what stores the information about your conceptual 3D object.
To do that, select the intended body that you wand to extract, and right-click on the body from the Browser on the left. Next, select “Save as stl” .
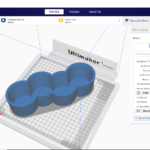
Step 3: Slicing – Preparing The File For 3D Printing
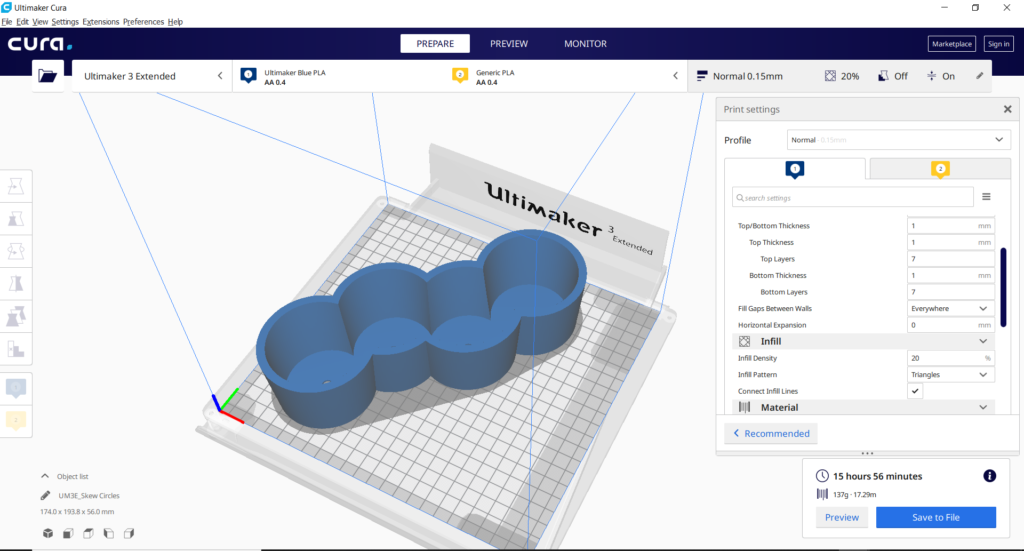
The STL file is then imported into a slicing software, like Cura. Choose the settings that are needed to have a successful print.
- Choose Your Material: Typically you may have an idea about what kind of material you will use before you print. There are many different 3D printing materials available, and you can choose them based on the properties that you want your object to have. In this project PLA filaments were used.
- Choose Your Parameters: The next step is then deciding on the different parameters of your object and the printing process. This includes deciding on the size and placement of your print. The layer thickness chosen was 0.15mm which produces a normal surface finish. The infill chosen was 20% which is enough for a small planter. No support where required in this print.
The slicing software will then convert the information from the STL file into a G-code, which is a specific code containing exact instructions for the printer.
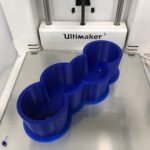
Step 4: 3D Printing
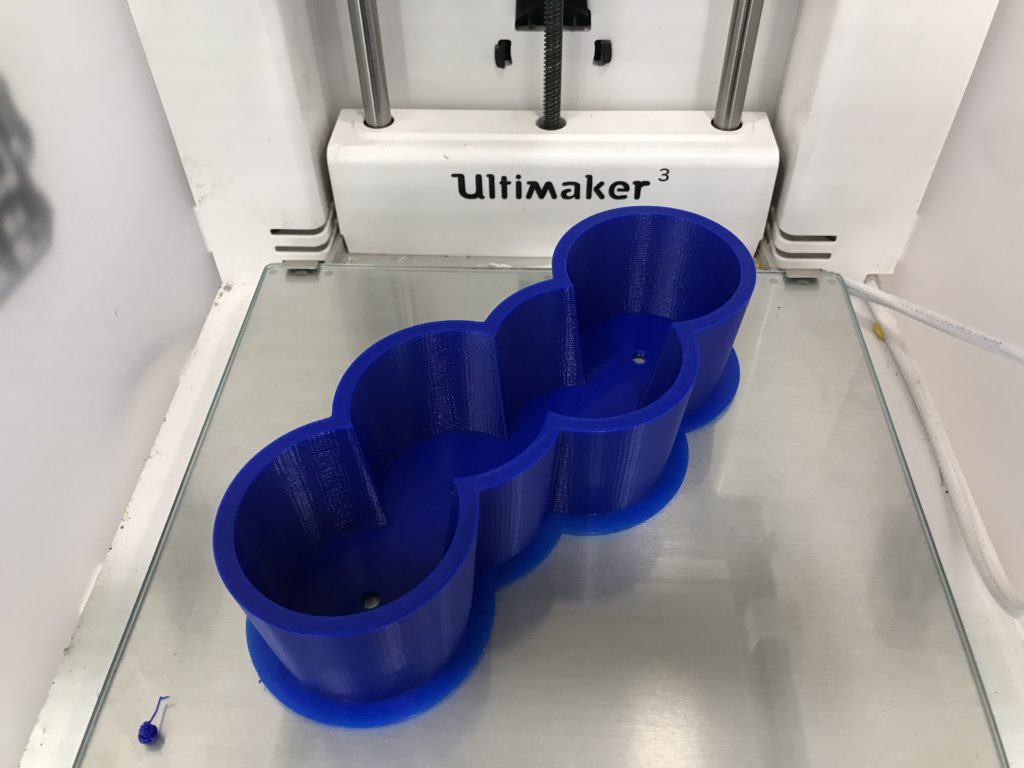
This is when the magic happens! The printer will create the object layer by layer. Depending on the size of your object, your printer, and the materials used, the job can be done in a matter of minutes or over several hours.
Step 5: Remove Your Print And Enjoy
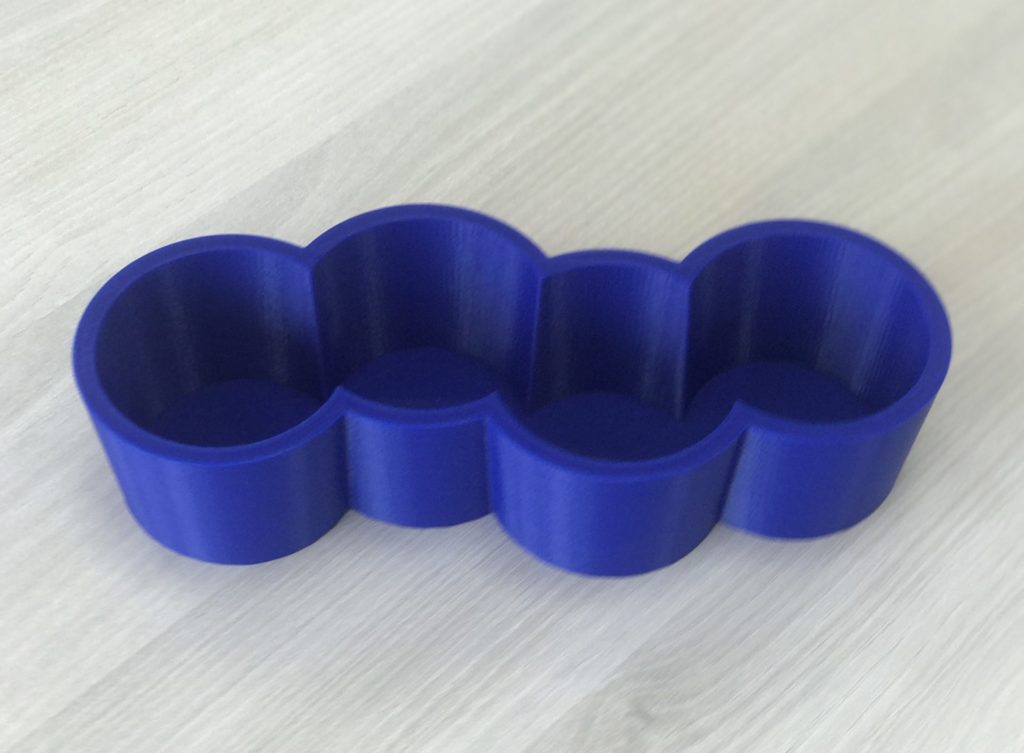
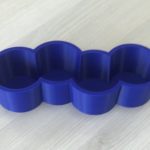
Remove the printed part from the printer’s printing bed after it cools down.
Depending on what you want your final product to be or the material you used, there may be additional post-processing steps after printing, like painting, brushing off powder, etc. In this example nothing was done for the printed part.
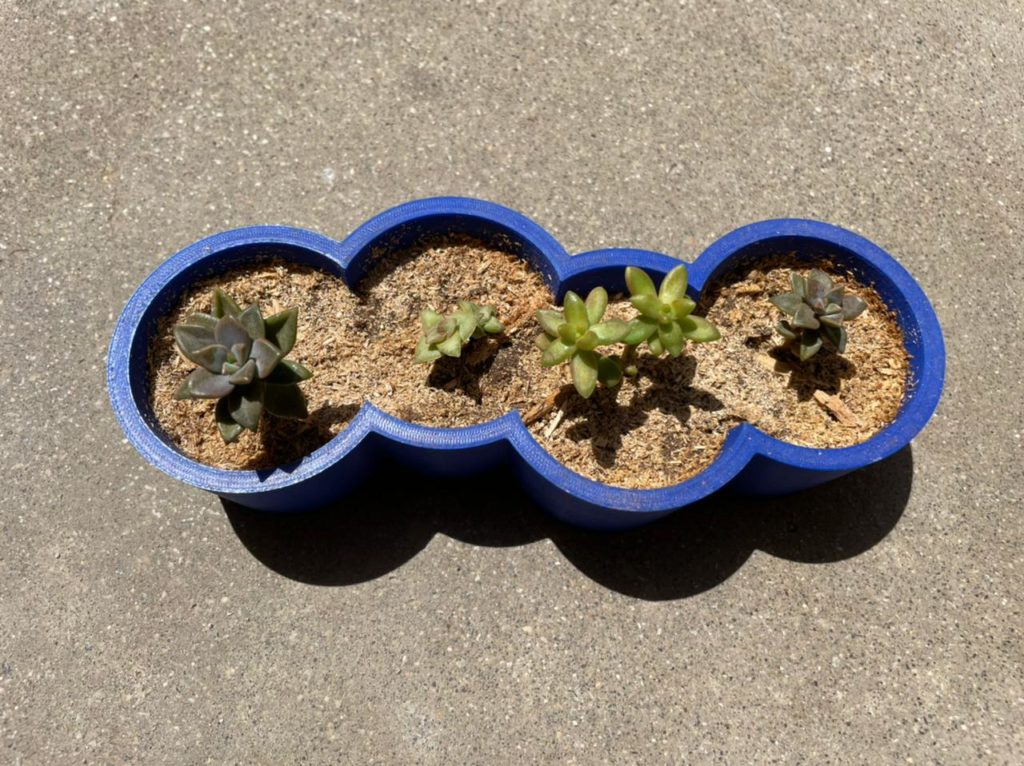
You now have a 3D printed planter that you made. Enjoy planting in it.