This section describes the different steps followed to produce 3D printed Christmas Cookie Cutters, to help you cut the best cookies in town during the Christmas season. and enjoy your Christmas time with your friends and family.
Step 1 : Download the Design
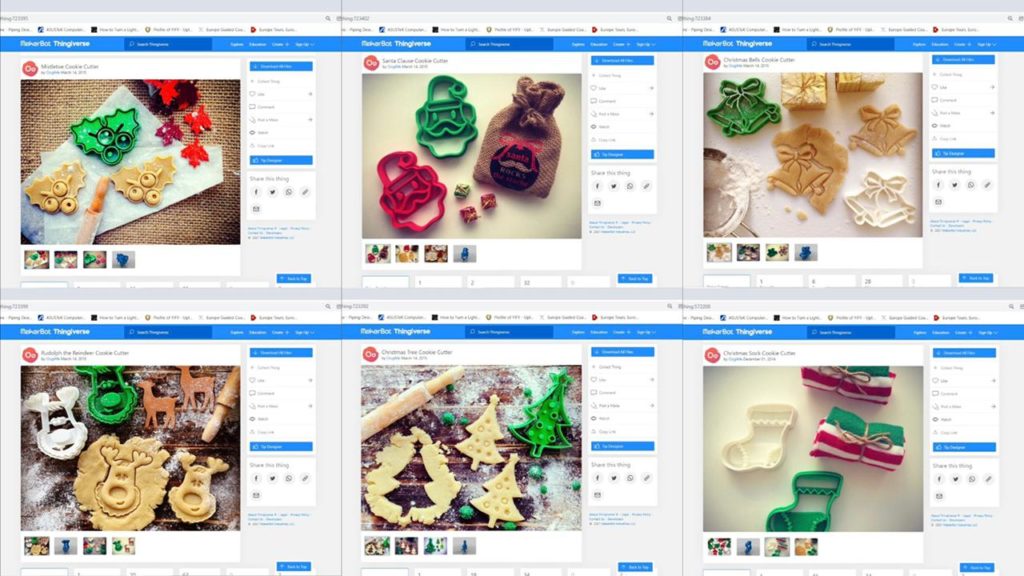
In order to produce a 3D object using 3D Printing, you need to have its digital design in .STL format.
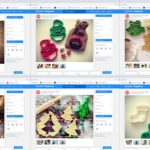
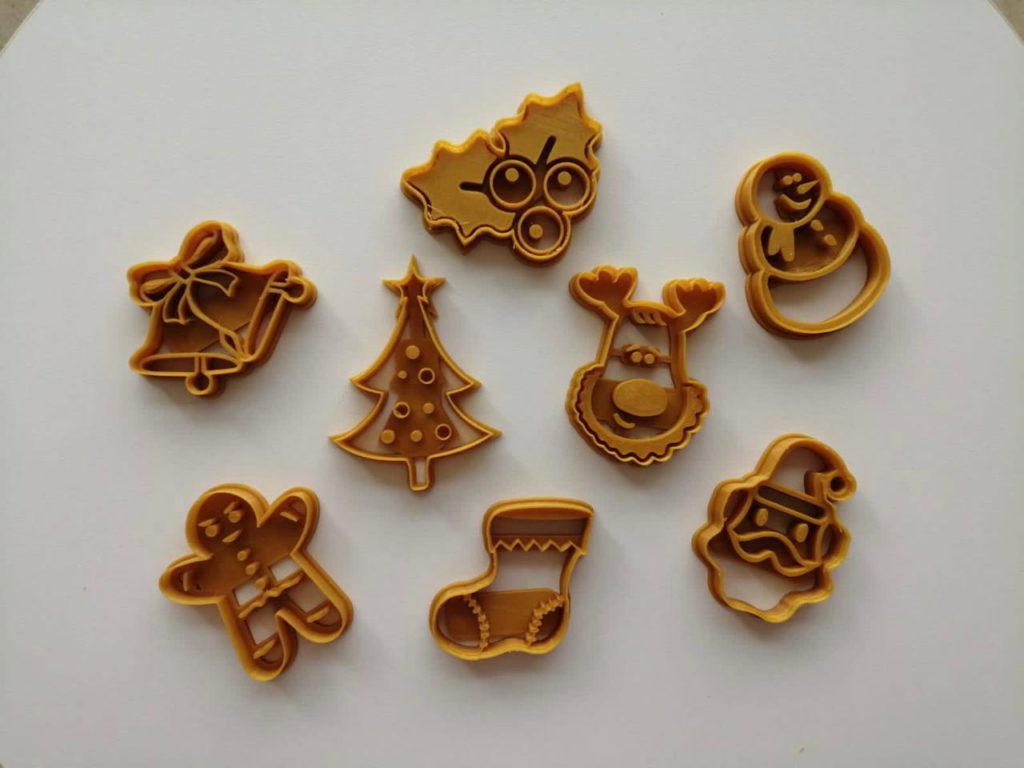
In this example, the various Christmas Cookie Cutter were designed by Oogime and downloaded for free from Thingiverse.com. Links available in “Download Files” section above.
Step 2: Slicing – Preparing The File For 3D Printing
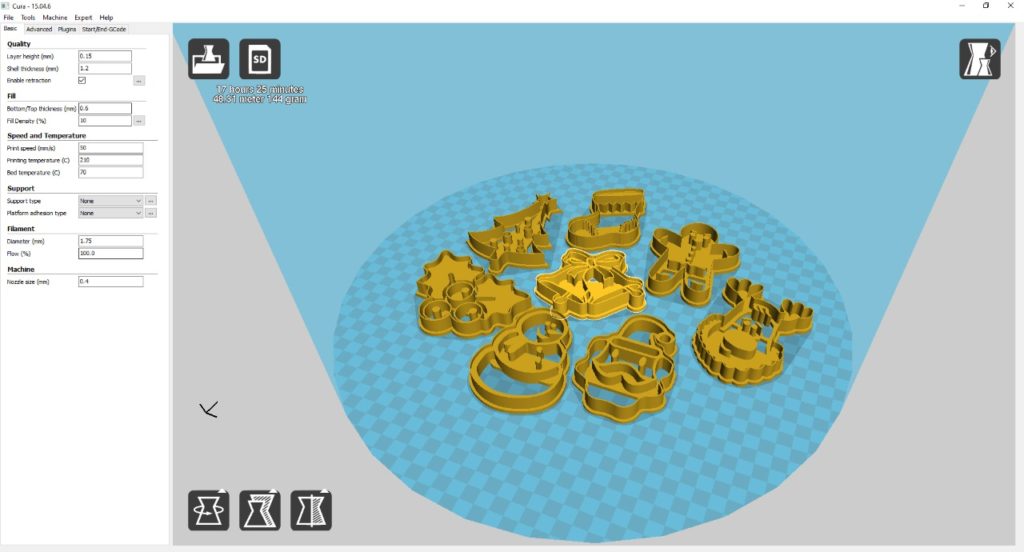
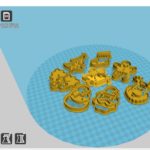
The STL files are then imported into a slicing software, like Cura. Choose the settings that are needed to have a successful print.
- Choose Your Material: Typically you may have an idea about what kind of material you will use before you print. There are many different 3D printing materials available, and you can choose them based on the properties that you want your object to have. In this project PLA filaments were used.
- Choose Your Parameters: The next step is then deciding on the different parameters of your object and the printing process. This includes deciding on the size and placement of your print. The layer thickness chosen was 0.2mm which produces a normal surface finish. The infill chosen was 10% which is enough for the small parts we are producing. No support where required in this print.
The slicing software will then convert the information from the STL file into a G-code, which is a specific code containing exact instructions for the printer.
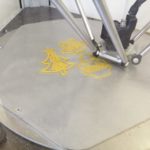
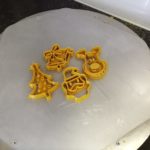
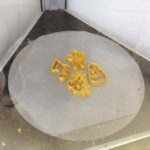
Step 3: 3D Printing
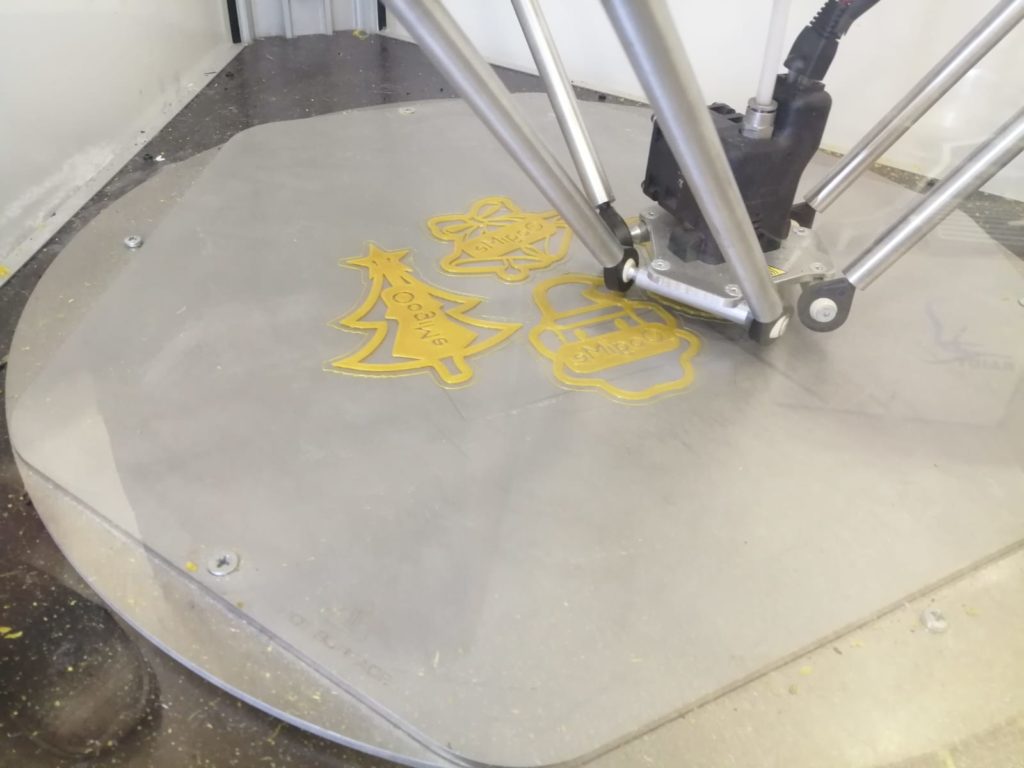
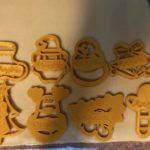
This is when the magic happens! The printer will create the object layer by layer. Depending on the size of your object, your printer, and the materials used, the job can be done in a matter of minutes or over several hours. In this example, it took us 17 hours and 25 mins to print all 8 cookie cutters.
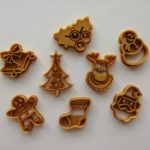
Step 4: Remove Your Print And Clean
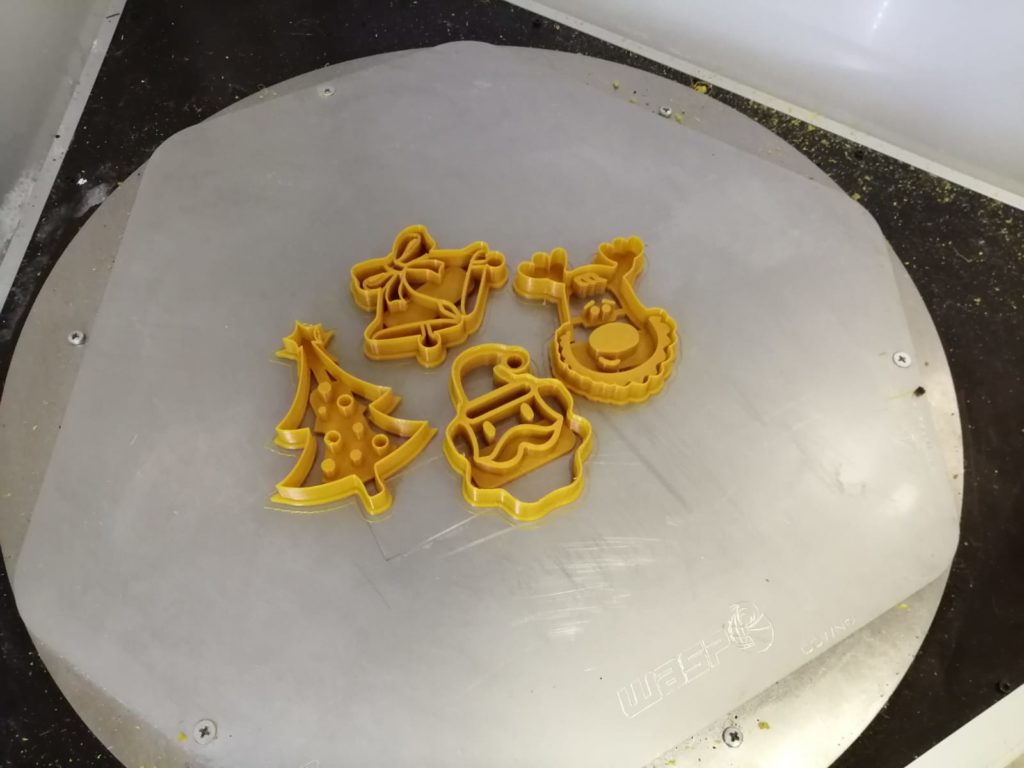
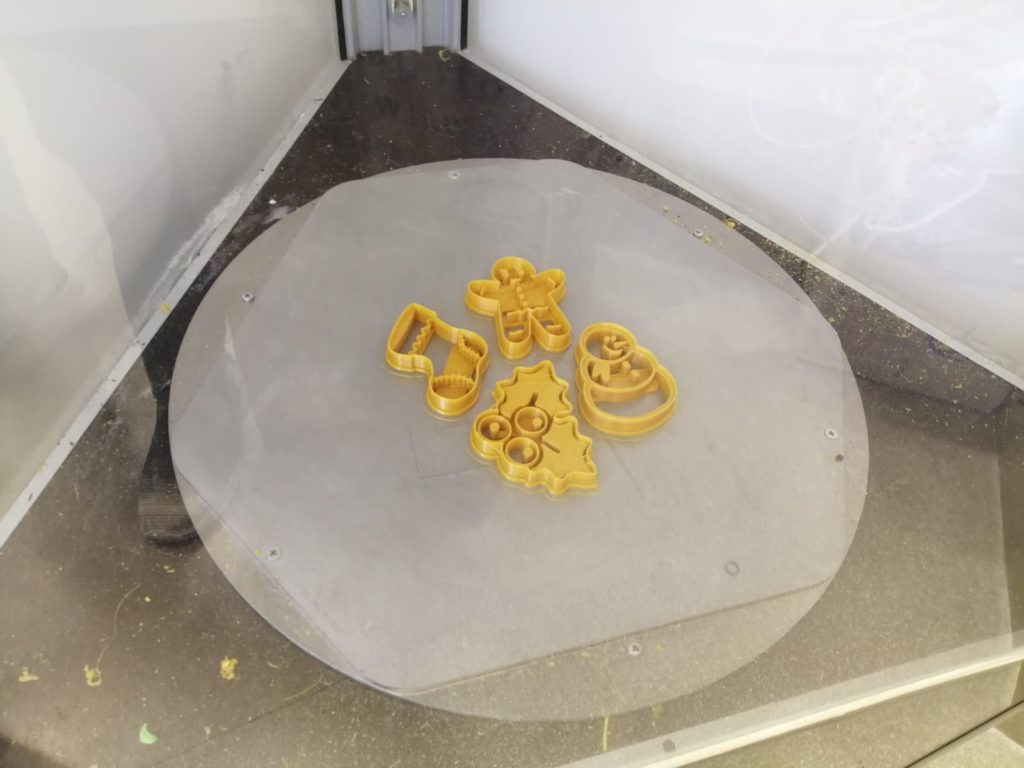
Remove the printed part from the printer’s printing bed after it cools down.
In this example no additional post printing steps was done.
Step 5: Take your Cookie Cutters home and gather your Loved Ones
1- Make your Dough
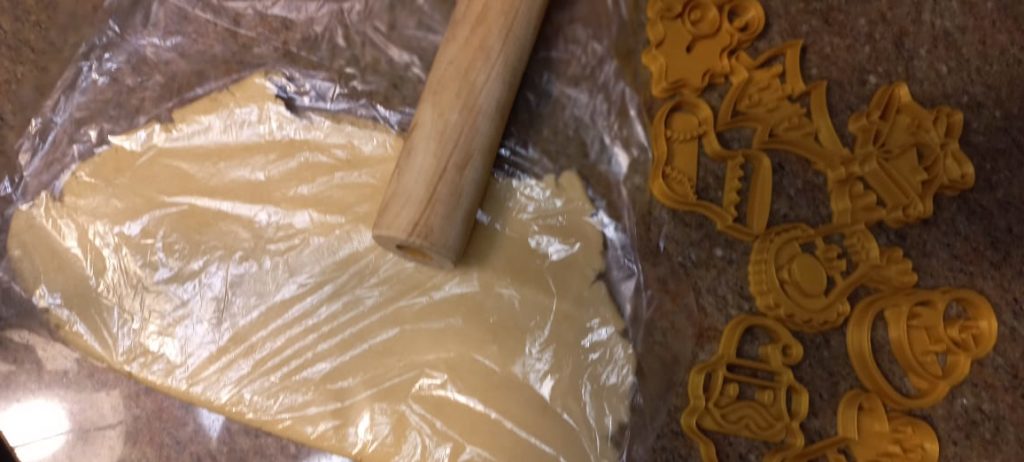
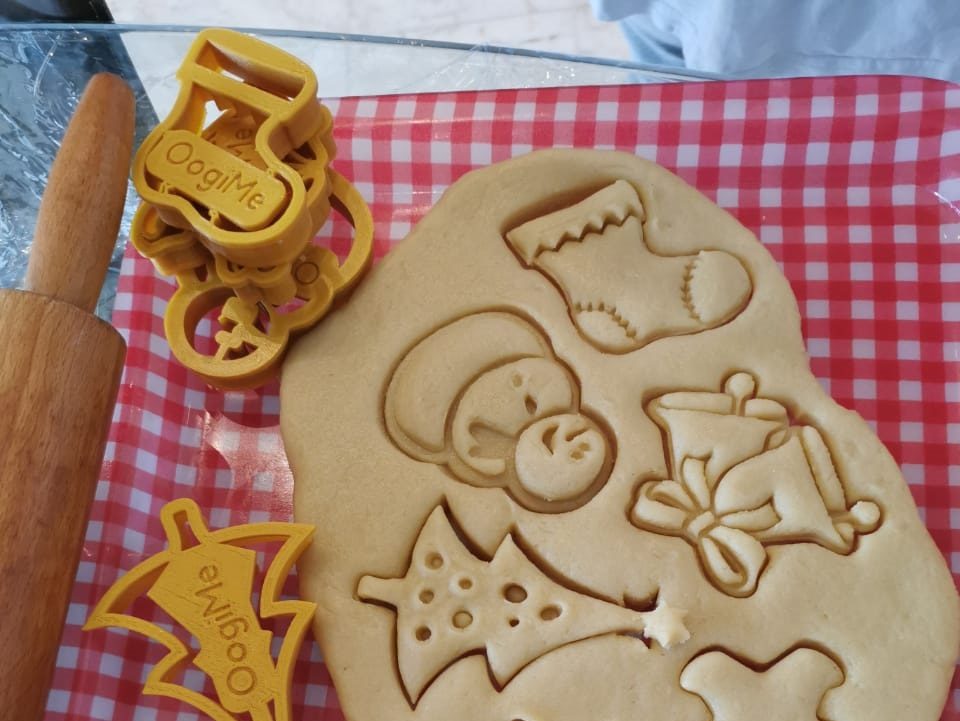
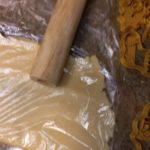
2- Roll out the Dough
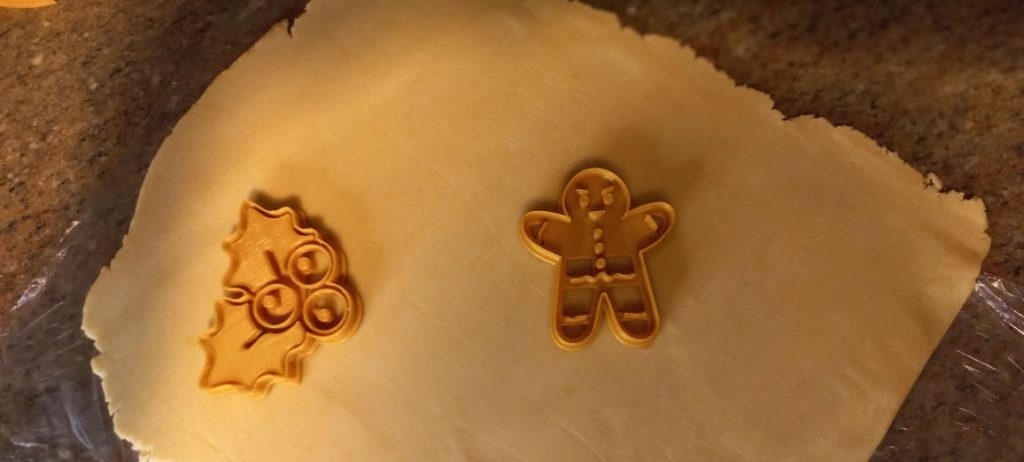
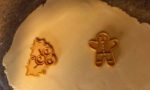
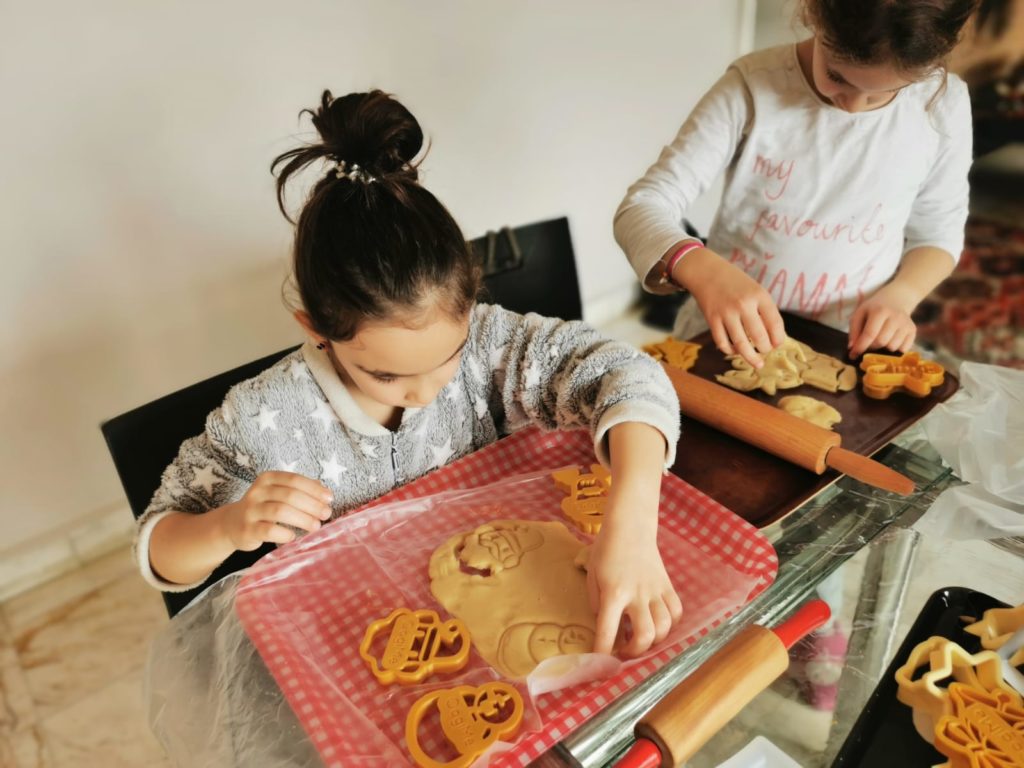
3- Cut the Dough
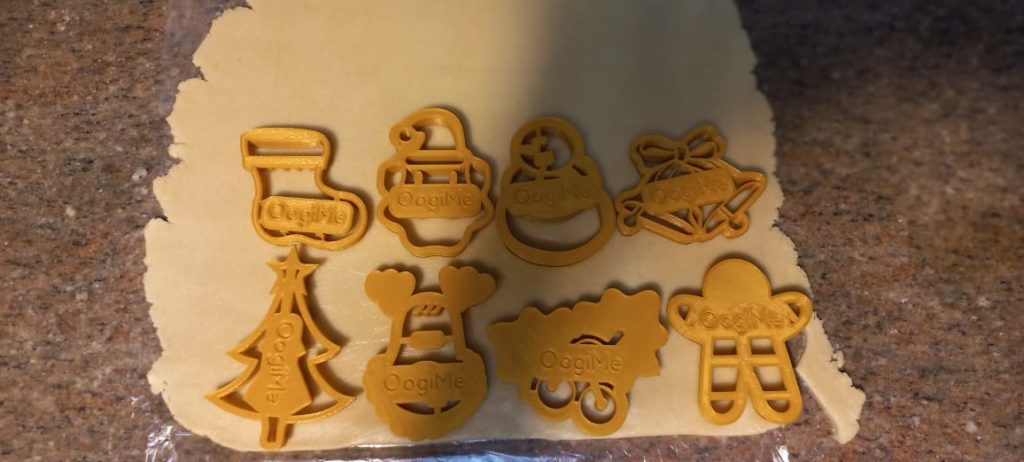
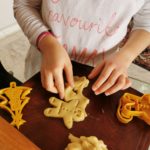
Use the cookie cutters to gently cut the dough. Make sure the slowly remove the cutters, as the dough has the tendency to stick to the cutter.

This step is usually enjoyed by all family members and is an amazing activity for kids.
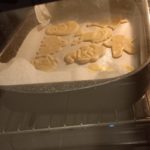
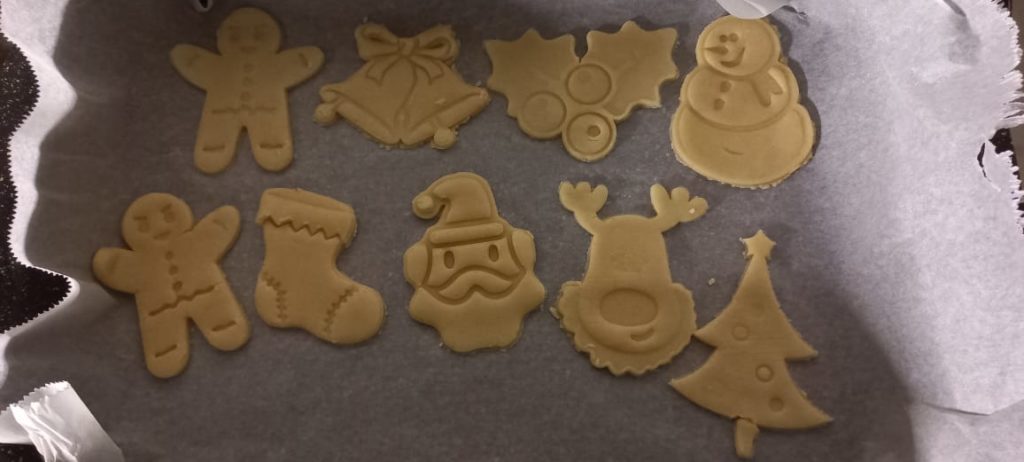
4- Put the Cookies in the Tray
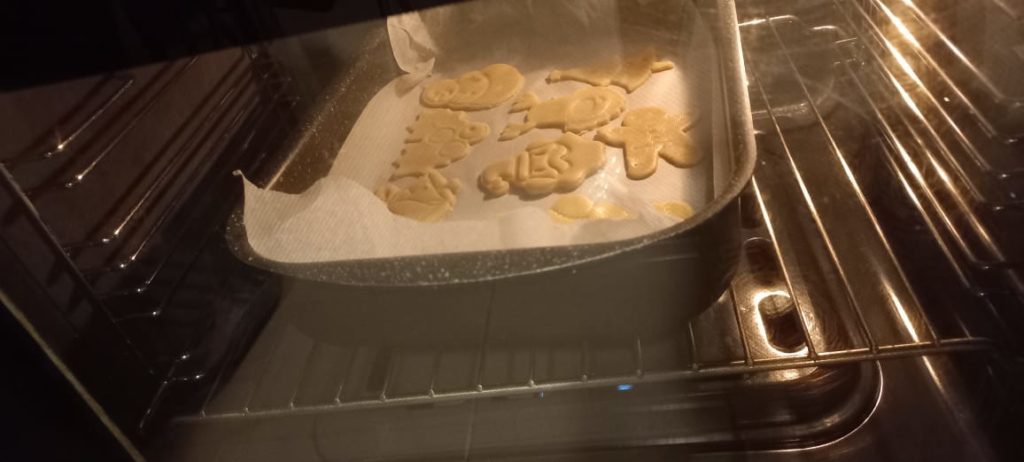
5- Bake the Cookie
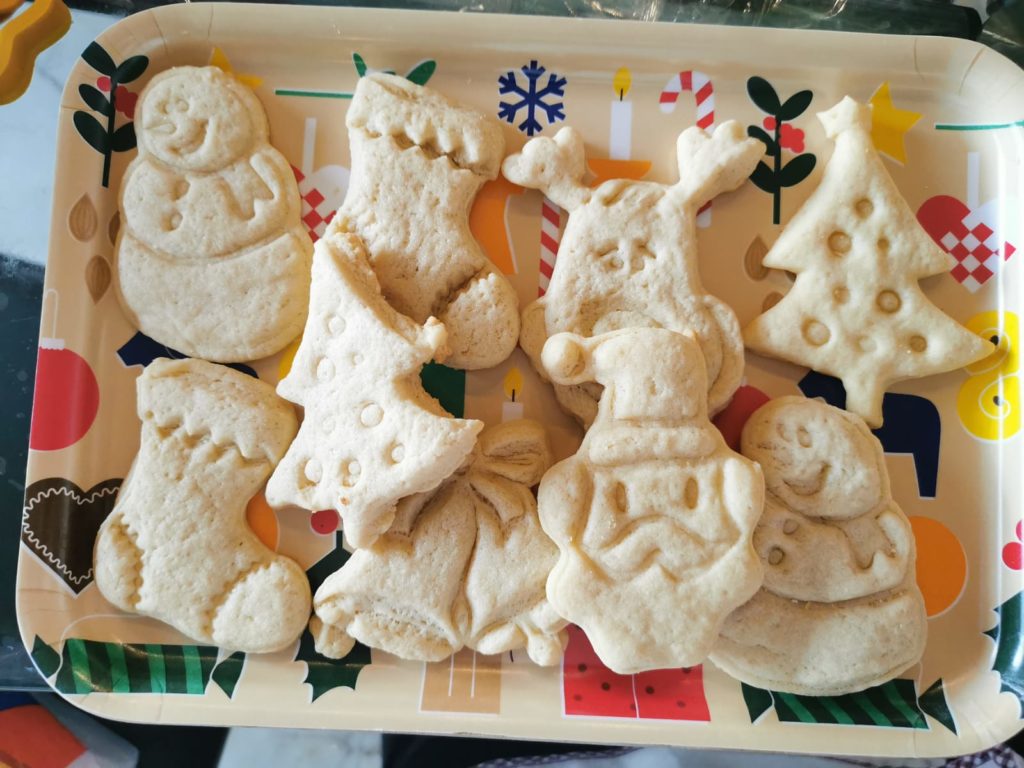
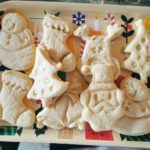
6- Remove the Cookies from the Oven
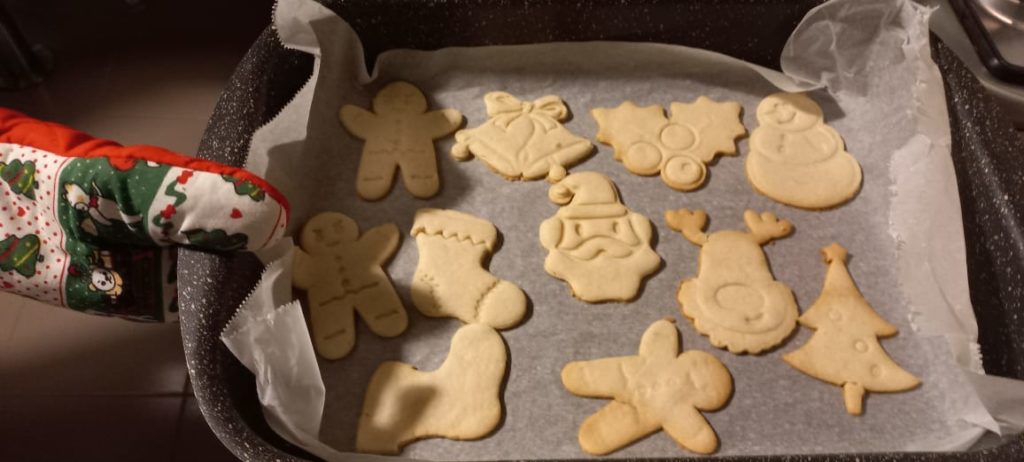
7- Enjoy
This step is everyone’s favorite. Enjoy eating your delicious home made cookies with your loved ones. Try to take one before serving, as those cookies vanish very fast.