This section describes the different steps followed to 3D print any object of your own using SLA 3D Printing.
Step 1 : Download the Design
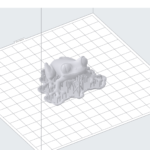
In order to produce a 3D object using 3D Printing, you need to have its digital design in .STL format.
In this example, the design was downloaded for free from Instructables.com using this Link
Step 2 : Slicing – Preparing The File For 3D Printing
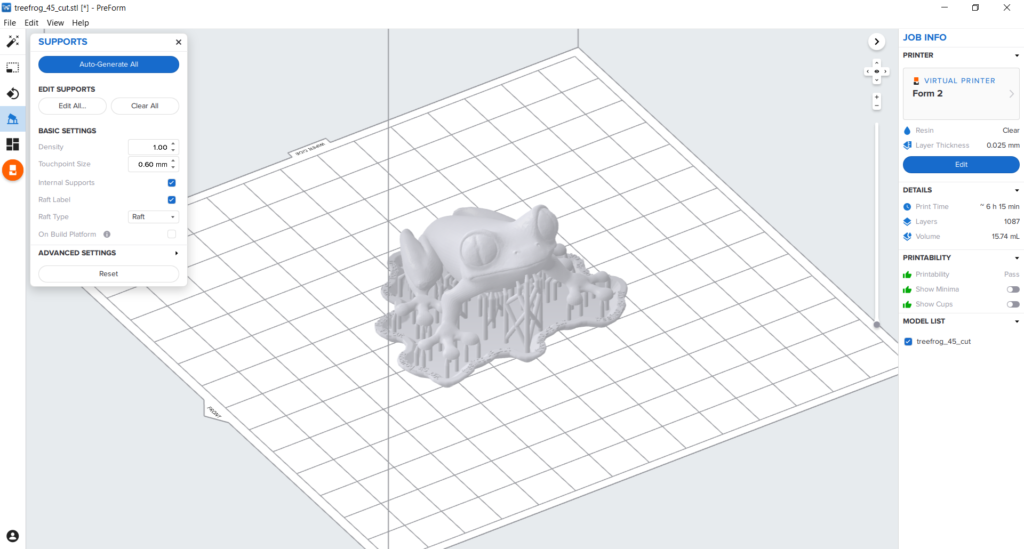
The STL file is then imported into a slicing software that is dedicated for the 3d Printer you will be using, in our case we use PreForm. The next step is deciding on the different parameters of your object and the printing process. Choose the settings that are needed to have a successful print.
- Choose Your Material: Typically you may have an idea about what kind of material you will use before you print. There are many different 3D printing resins available, and you can choose them based on the properties that you want your object to have. For the Form 2, which is the printer available in our lab, you can use various types of material that you can check on this Link. In this project Clear Resin was used.
- Choose Your Layer Thickness: The layer thickness defines the surface quality of your print. The thinner the layer, the better surface quality achieved, but printing will take much more time. A higher layer thickness like 100 microns, will lead to a faster printing time. The layer thickness chosen was 0.025mm which produces a high resolution surface finish.
- Choose the Best Orientation: This includes deciding on the size and placement of your print. Rotate the object to reach the best orientation possible that achieves the best quality and lowest support material needed. For fast orientation, press the “Select Base” button and choose the surface you prefer to lay on the printing bed.
- Generate Supports: Choose the basic settings for the supports you want to generate. You can control the density of the supports and the size of the touchpoint with the body. You can remove the internal supports, that you can remove after the print is done. Finally choose the Raft type that you prefer to use. Once all setting are chosen, click the “Auto-Generate All” button to generate the supports.
Once the print is ready, send it to the SLA printer via USB, by clicking the orange print icon. Select which printer to upload the file to from the printer dialogue. The slicing software will then convert the information from the STL file into a G-code, which is a specific code containing exact instructions for the printer to follow.
Step 4: 3D Printing
Once uploaded, you are ready to print. But before starting, make sure that the resin cartridge and the resin tank of the chosen material are installed and ready inside the printer. Also install the build platform and lock it into position.
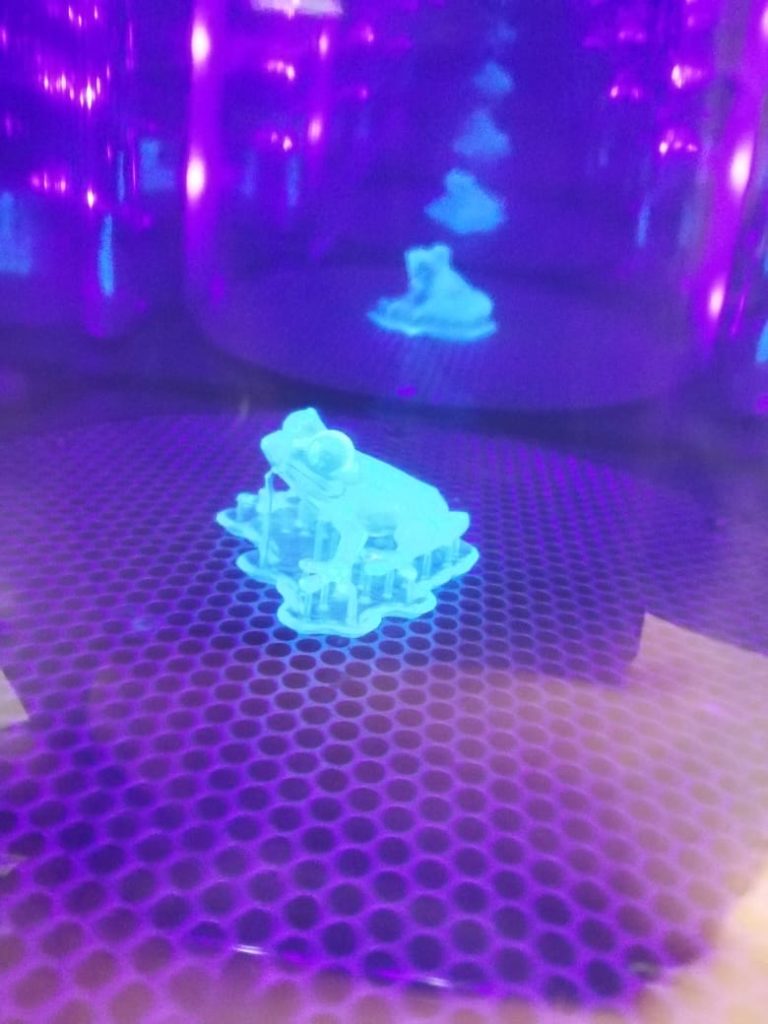
Next, select the file name and confirm the print by pushing the “Start” button on your printer. The resin tank will fill automatically and heat up to around 35°C. The print will start once the tank is full.
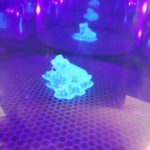
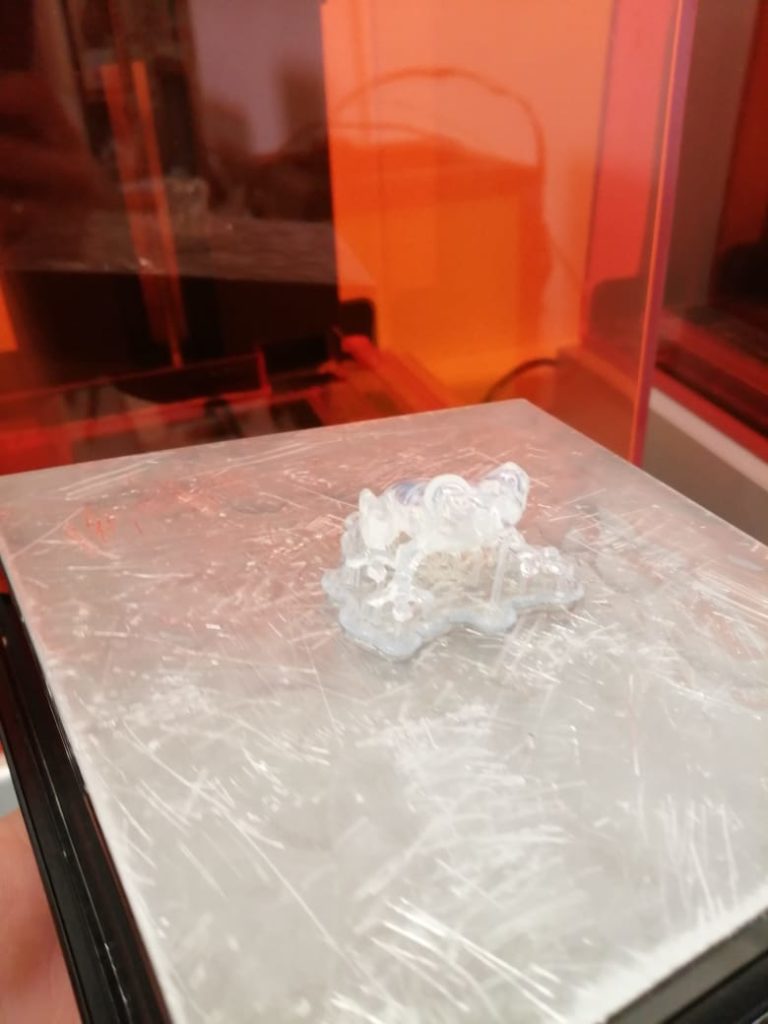
This is when the magic happens! The printer will create the object layer by layer. Depending on the size of your object, your printer, and the materials used, the job can be done in a matter of minutes or over several hours.
Step 5: Remove Your Print
Make sure to wear gloves in the next finishing steps.
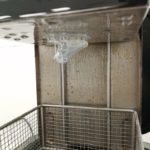
- Remove build platform: Remove the build platform, and turn it directly to prevent dripping, and transfer it to the finishing kit. Make sure you close the printer cover to prevent any impurities from going into the resin containers.
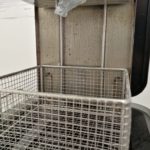
- Remove Your Print: Attach the build platform to the jig, for better handling of the build platform. Release the printed part from the build platform using the removal tools. Clean the build platform to prepare for the next print.
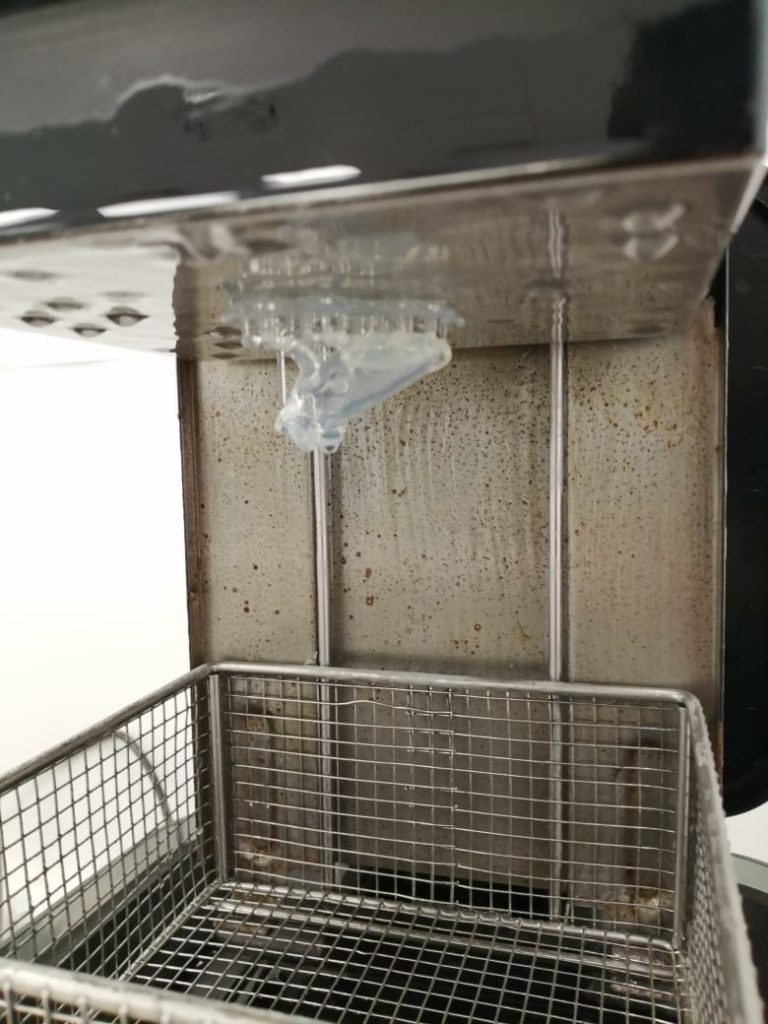
- Wash Your Print: Drop your print in the Rinsing Machine for ten minutes. The rinsing machine contains isopropyl alcohol that removes the uncured resin from your part.
- Finish Your Print: Once the part is dry, remove all support material from your print. Depending on what you want your final product to look like, there may be additional post-processing steps after printing, like sanding, polishing, painting, brushing off powder, etc. for a clean finish. In this case nothing was done for the printed part.
- Post-Curing: Next transfer the part to the automated post-curing station. Custom settings are chosen for each different material and application.
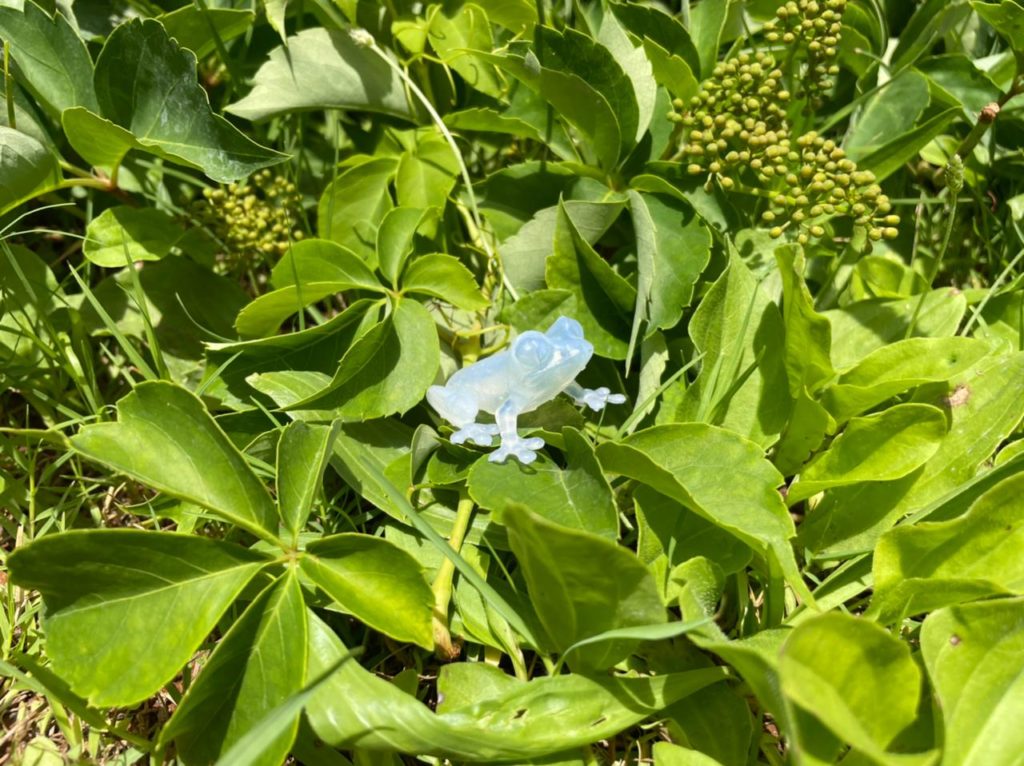
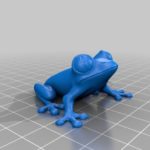
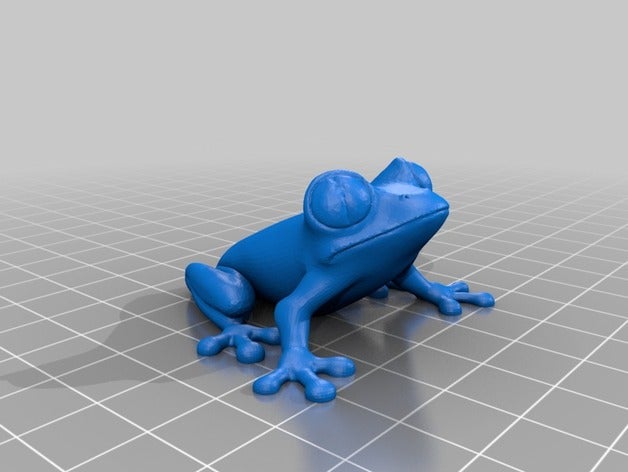
You now have a Transparent 3D printed Frog that you made. Enjoy playing with it.
WARNING:
Wear gloves when handling parts and surfaces covered in solvent or uncured resin.